

Learning how to tie a bow tie step by step can feel awkward before a wedding, prom, formal dinner, or black-tie event. I find it easier when I divide the process into three phases: the overhand knot, the front bow, and the final tuck.
A self-tie bow tie gives a tuxedo or suit more personality than a pre-tied style. With a mirror and a few practice attempts, you can create a secure knot with an authentic hand-tied finish.
What Should You Do Before Tying a Bow Tie?
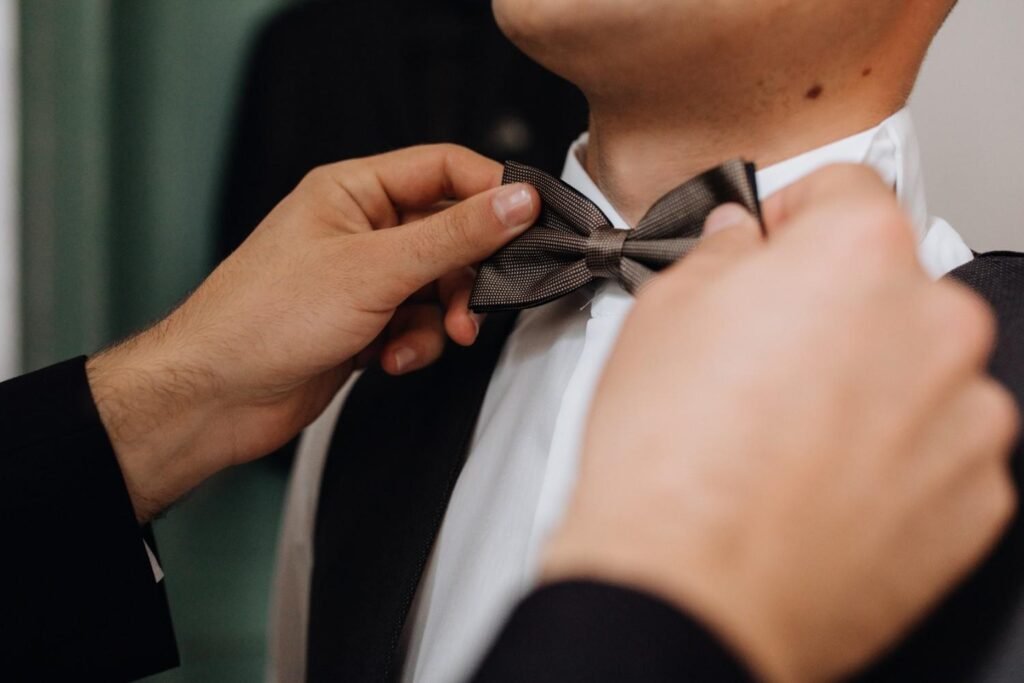
Button your dress shirt to the top and raise the collar. Place the bow tie around your neck with the finished side facing outward. Adjust the band to your collar size, then let one end hang about 1 to 1.5 inches lower.
I call them the long end and short end because those names remain clear in a mirror. Keep both pieces flat and untwisted.
Phase 1: How Do You Make the Initial Overhand Knot?
Cross the long end over the short end to form an X below your throat. Bring the long end behind the short end and pull it upward through the neck loop.
Tighten it until it feels snug but comfortable. You should still be able to swallow and turn your head naturally. Place the long end over your shoulder so the short end hangs down your chest.
Phase 2: How Do You Form the Front Bow?
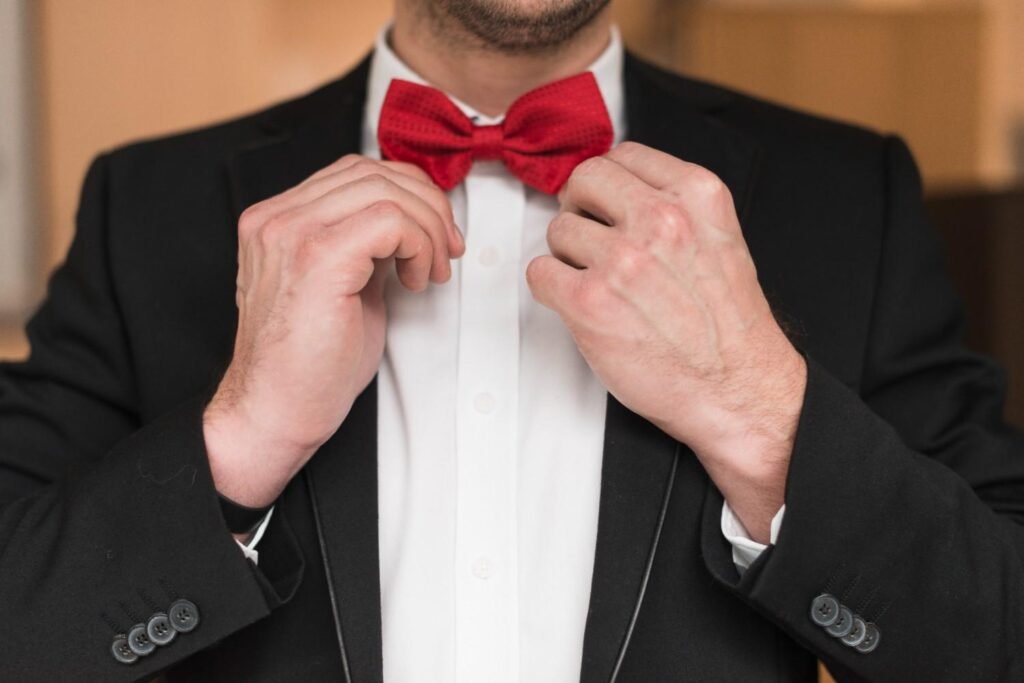
Fold the Short End Into a Bow Shape
Fold the short end horizontally at its widest point. Point the loop toward your dominant side if that gives you better control, then pinch the middle.
The bow should remain within the outer edges of your face and look proportional to your collar and lapels.
Drop the Long End Over the Center
Bring the long end down from your shoulder and let it fall over the center of the folded bow. If you are wearing a textured fabric such as shot silk, keep the material smooth so its subtle color shifts remain visible.
Fold the front wings together and push them slightly forward, like folding a soft taco. This creates a hidden opening behind the bow. Keep a finger inside it for the final tuck.
Phase 3: How Do You Create the Back Loop?
Fold and Tuck the Long End
Fold the dangling long end at its widest point to create the second bow. Guide the folded edge toward the hidden opening.
Push the fold through from whichever side feels natural. Do not pull the entire end through. Pass only the folded portion halfway so it forms the rear loop and leaves a flat tail on the other side.
The bow may look loose or uneven now. That is normal because the final shape develops during adjustment.
Tighten and Shape the Knot
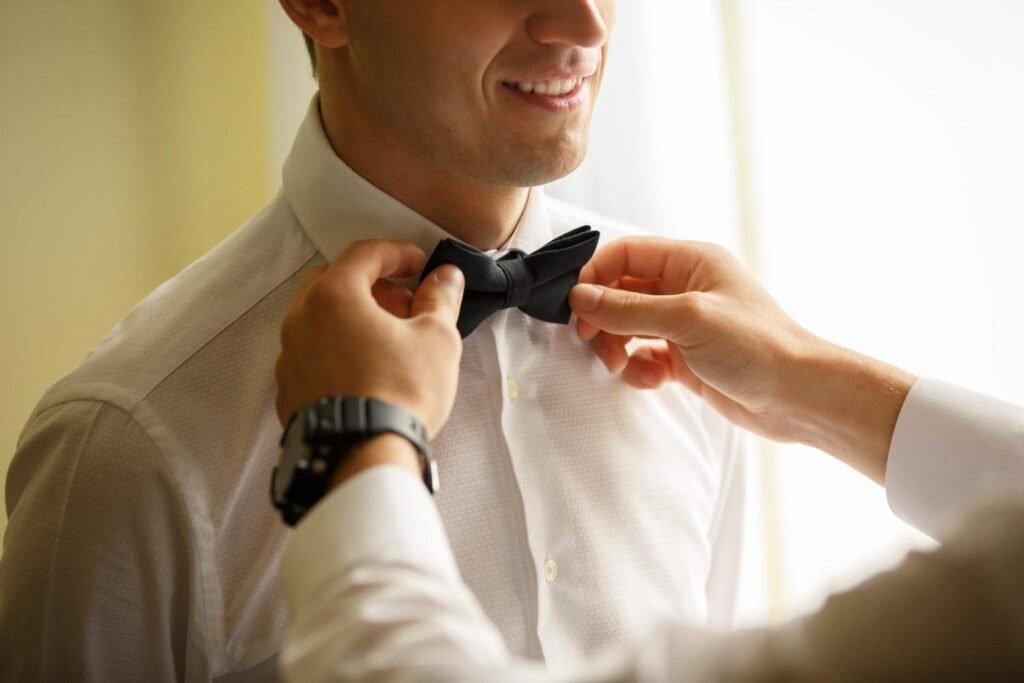
You should have one folded loop and one flat tail on each side. Pull the loops gently to tighten and widen the bow. Pull the flat tails to loosen the knot or move fabric through the center.
I alternate between one loop and the opposite tail, making small adjustments. When the knot feels secure, flatten the wings, center the bow, and lower the shirt collar over the band.
How Do You Fix an Uneven or Loose Bow Tie?
If one wing looks larger, hold the smaller loop and pull more fabric into it. If one tail hangs too low, pull the opposite loop to shift fabric through the knot.
Alternate between the loops and opposite tails until the center feels secure. Silk and satin may need a firmer knot than cotton, wool, or grosgrain. For professional occasions, apply the same understated approach you would use when choosing the best tie color for a job interview. Do not chase perfect symmetry; slight differences give a hand-tied bow its distinctive character.
How Tight Should a Self-Tie Bow Tie Be?
The band should sit close to your collar without pressing into your throat. The bow should cover the top shirt button and rest between the collar points. Shorten the band if the knot hangs away from your neck, or loosen it if movement feels restricted.
For a traditional US black-tie event, a black silk bow tie remains the safest choice for a tuxedo. Navy, burgundy, velvet, patterned, and textured styles work well for weddings, cocktail parties, and holiday gatherings.
What Bow-Tie Mistakes Should Beginners Avoid?
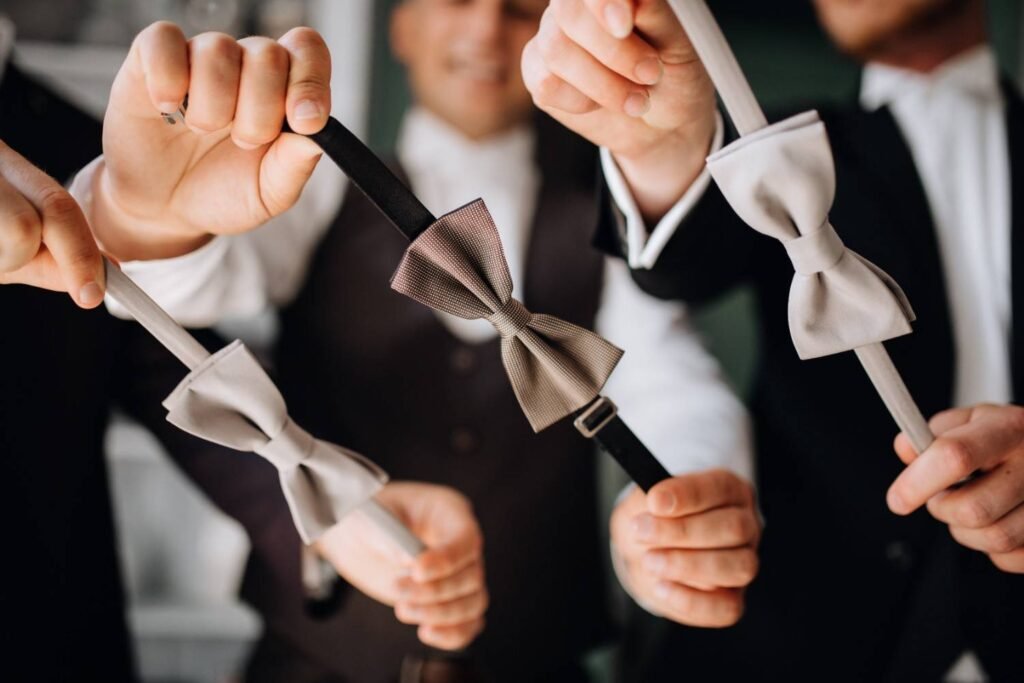
Do not start with both ends at the same length because the long end needs extra fabric for the rear loop. Keep the material flat because twisted fabric creates a bulky knot.
Keep one finger inside the hidden opening until the rear fold begins passing through. Never pull the folded end completely through, or you will undo the loop.
Can You Tie a Bow Tie on Someone Else?
Yes. Stand in front of the person and use the same long-end and short-end method. Ask them to lift their chin slightly. This may feel easier than using a mirror because the movements are not reversed.
Frequently Asked Questions (FAQs)
1. Is Learning How to Tie a Bow Tie Step by Step Similar to Tying Shoelaces?
Yes. Both begin with an overhand knot and folded loops. A bow tie sits horizontally, and its second loop passes through a hidden opening.
2. Which End of a Bow Tie Should Be Longer?
Start with one end about 1 to 1.5 inches lower. The precise difference varies with your neck size, fabric, and bow-tie shape.
3. Should a Bow Tie Go Under or Over the Collar?
The neckband goes under the shirt collar. Lower the collar after tying the knot so it covers the band while leaving the bow visible.
4. Should a Self-Tie Bow Tie Be Perfectly Symmetrical?
No. It should look centered and balanced, but small variations show that you tied it by hand.
A Confident Finish
Once I understand the hidden loop, the method becomes far less intimidating. I focus on flat fabric, a clean front fold, a halfway rear tuck, and small alternating pulls.
Practice before your event instead of learning while fully dressed. For extra visual clarification, Ties.com and The Tie Bar offer diagrams and video demonstrations of each hand position.